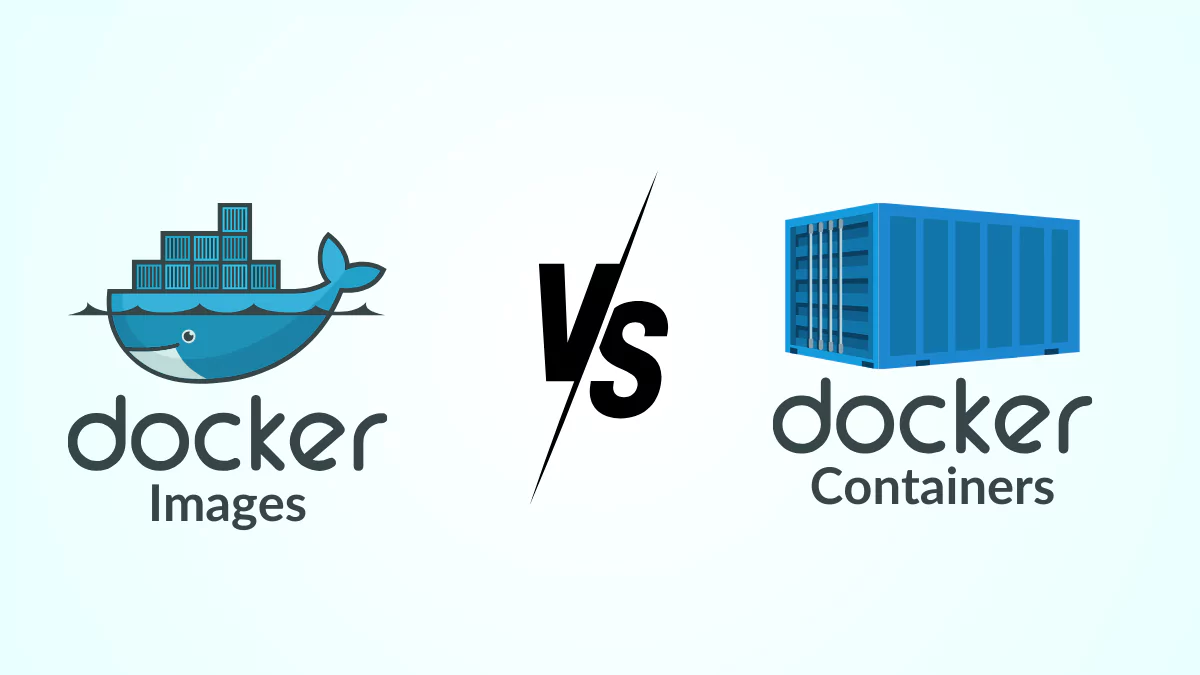
Docker Image and Container - Two Essential Concepts
When starting with Docker, the two most important concepts you need to understand are Image and Container. Beginners often confuse them, but in reality, they play different roles in the Docker ecosystem. Image is like a recipe repository (cooking instructions), while Container is the actual execution (the prepared dish). 🍳
In this article, I’ll explain the detailed differences between Image and Container, how they work together, and provide real examples for better understanding.
I. What is a Docker Image?
A Docker Image is a template used to create a Container. It contains everything needed to run an application:
- Operating system — usually minimal Linux
- Runtime environment — Node.js, Python, Java, etc.
- Application code
- Dependencies (libraries)
- Configuration files
- Environment variables
1. Key Characteristics of Docker Image
- Read-only: Image is read-only and cannot be changed after creation
- Layered structure: Image is built from layers, each layer representing a command in Dockerfile
- Reusable: The same image can be used to create multiple containers
- Version-controlled: Each image has tags (e.g.,
1.0,latest,alpine) for version management
Example of Image Structure:
| Layer | Content |
|---|---|
| Layer 1 | Base OS (Alpine Linux) |
| Layer 2 | System packages (curl, wget) |
| Layer 3 | Node.js runtime (18.x) |
| Layer 4 | Application code |
| Layer 5 | Environment variables |
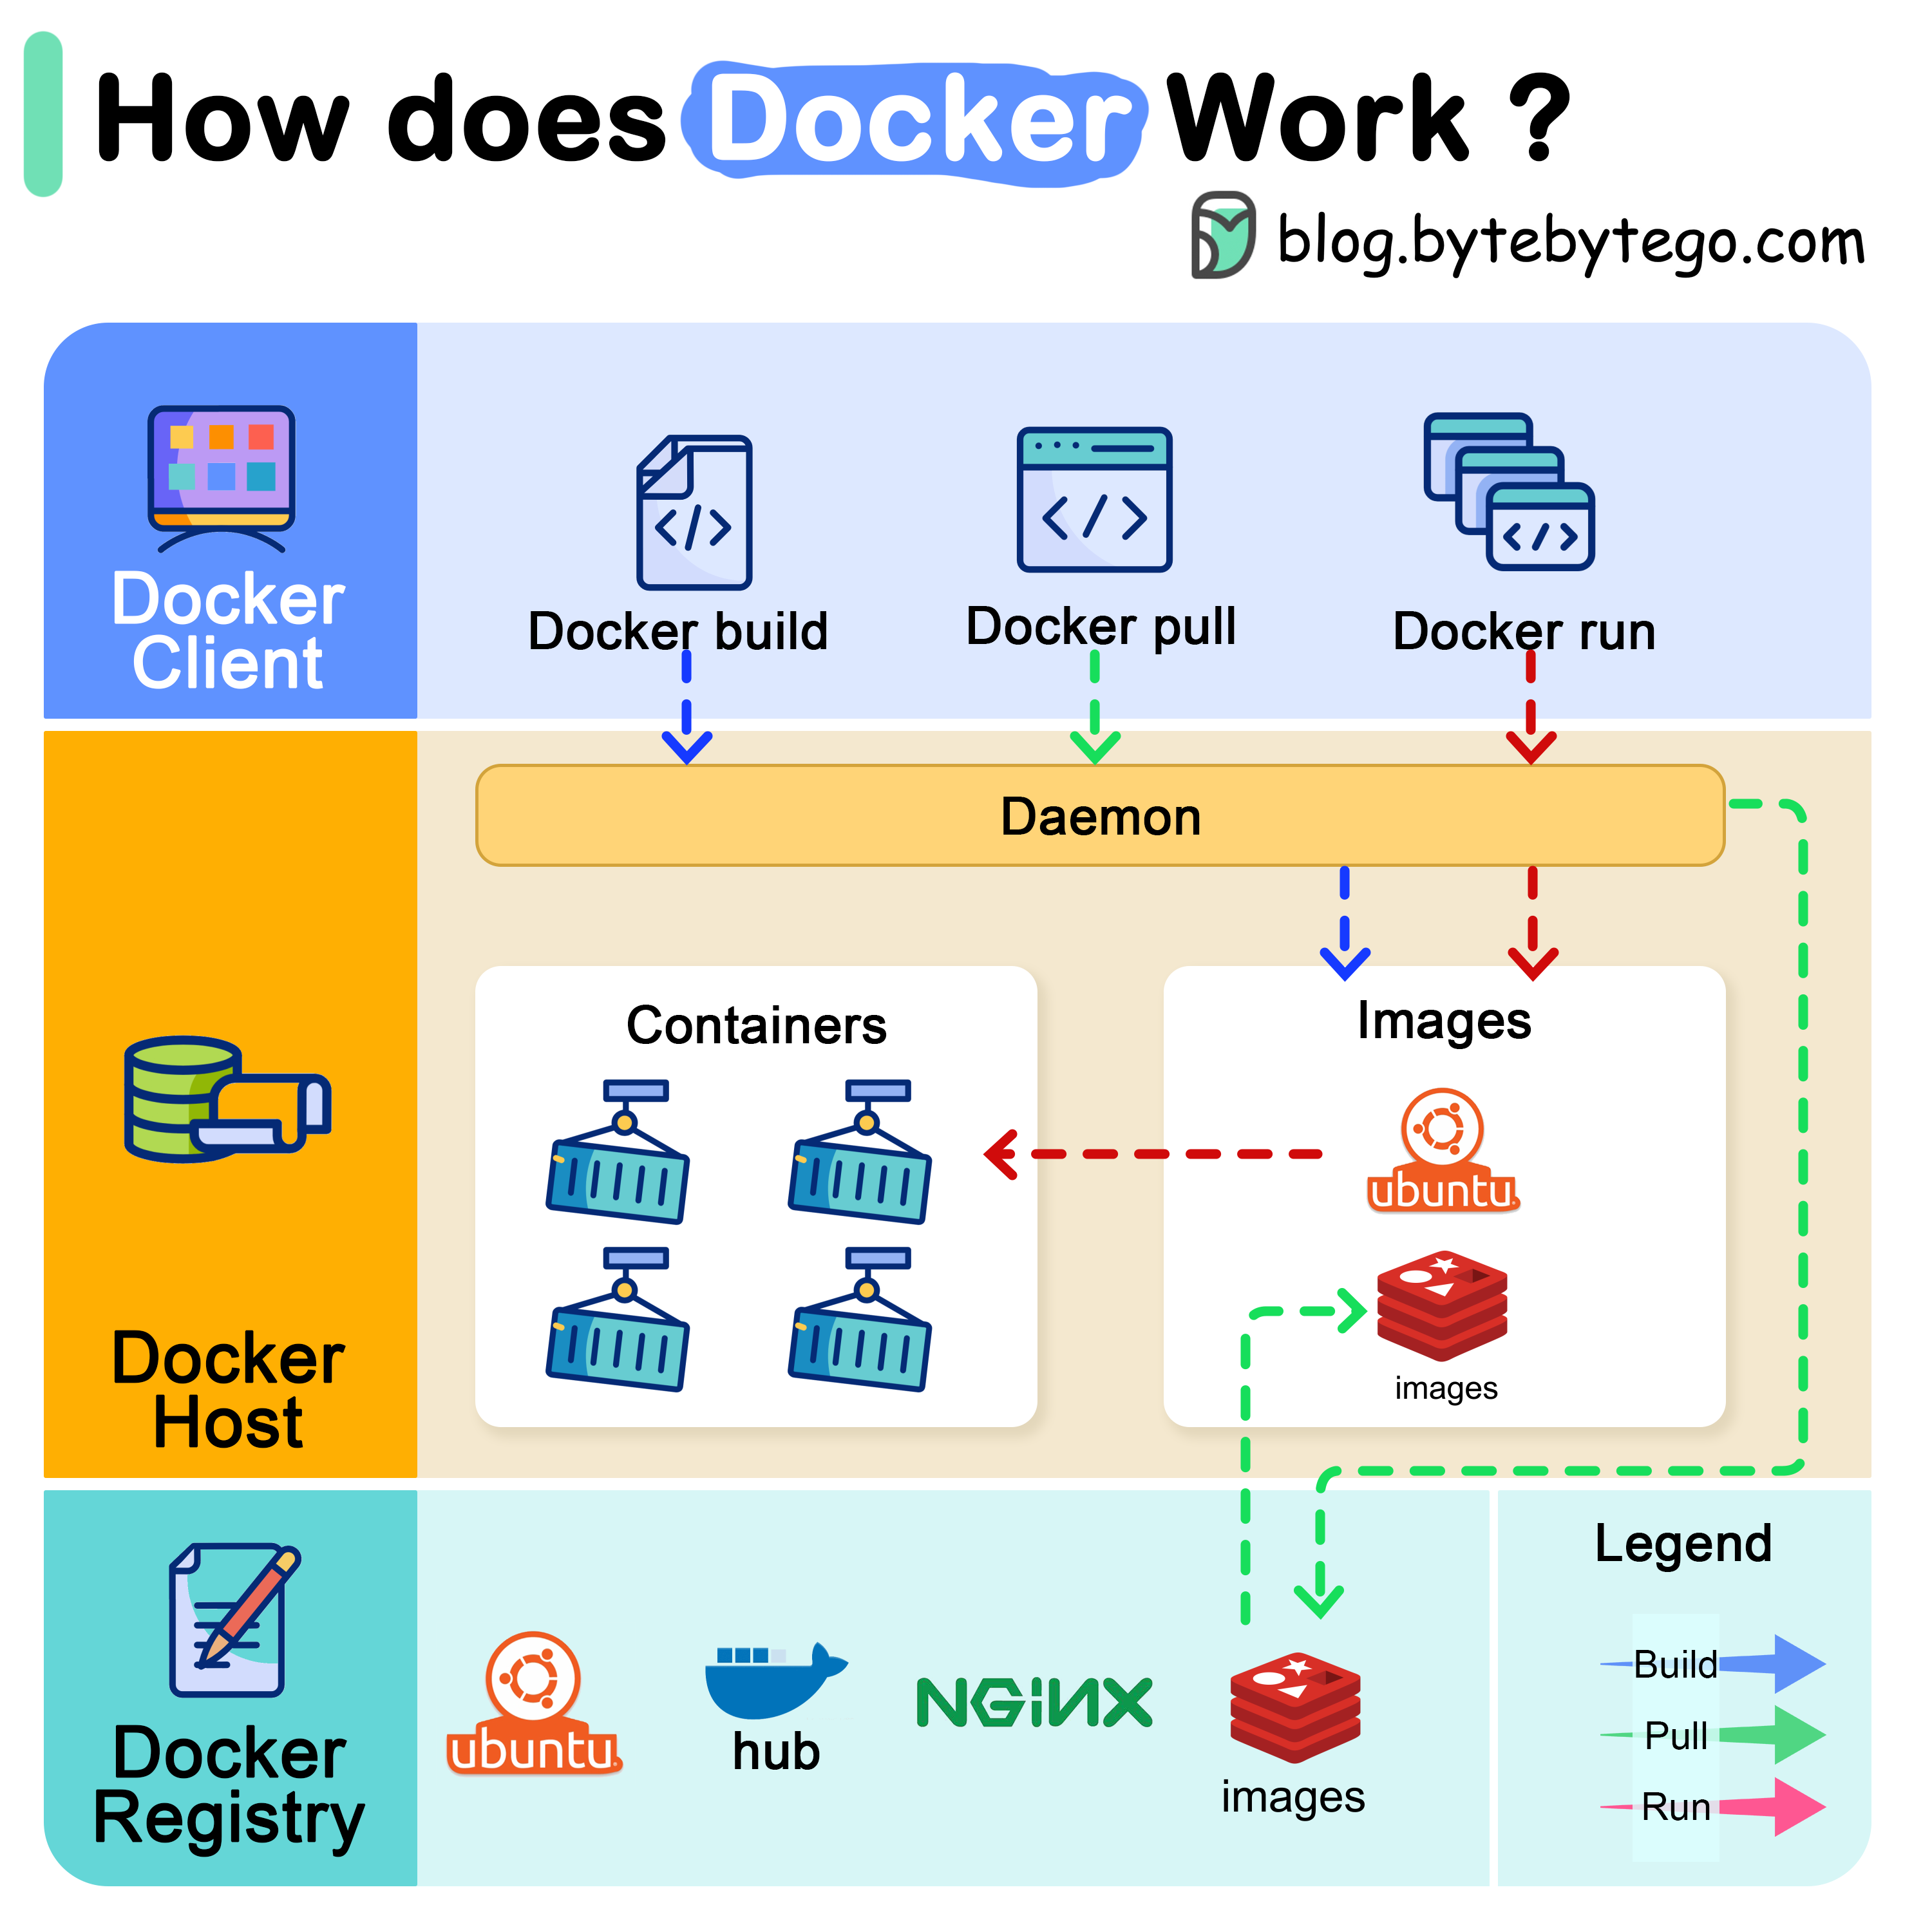
2. Common Image Commands
| |
II. What is a Docker Container?
A Docker Container is a running instance created from a Docker Image. Container has:
- Its own file system
- Isolated network space
- Independent processes and operations
- Its own environment variables
1. Key Characteristics of Docker Container
- Read-only base + Read-write layer: Container has a read-write layer that allows data changes
- Isolated: Container is isolated from host and other containers
- Stateful: Container can be in various states: running, stopped, paused, exited
- Ephemeral: Containers can be created and deleted quickly (< 1 second)
Example of Container:
| |
2. Comparing Container with Virtual Machine
| Aspect | Docker Container | Virtual Machine |
|---|---|---|
| Operating System | Share kernel with host | Full dedicated OS |
| Boot Time | ~ 1-2 seconds | ~ 1-2 minutes |
| Disk Size | MB (10-100 MB) | GB (1-10 GB) |
| Performance | Nearly native | Needs virtualization overhead |
| Max Per Host | Hundreds | Tens |
 Docker Container Architecture
III. Detailed Comparison: Image vs Container
For easy visualization, see the comparison table below:
Complete Comparison Table
| Aspect | Image | Container |
|---|---|---|
| Analogy | Recipe repository (cooking recipe) | Prepared dish |
| State | Static (read-only) | Dynamic (read-write) |
| Changes | Cannot change after creation | Can change while running |
| Quantity | 1 image creates N containers | Many containers from 1 image |
| Creation Time | Slow (first build ~5-10 mins) | Fast (< 1 second) |
| Storage | Stored in Docker cache | Stored at runtime or in volumes |
| Portability | Easy to share (push/pull) | Only runs where Docker is installed |
| Version | Has tags for management (1.0, 2.0, latest) | No separate version |
| Network | No | Has isolated network |
| Storage | Stored in layers | Has read-write layer on top of image |
Relationship between Image and Container
| |
Notes:
- Image is like a
classin Object Oriented Programming (OOP) - Container is like an
object(instance of a class) - Use
docker runto create container from image - Use
docker committo save container as a new image
IV. Real-World Example from Start to Finish
For better understanding, let’s do a detailed example:
1. Create Dockerfile (to build image)
| |
2. Build image from Dockerfile
| |
3. Create and run container from image
| |
4. Interact with container
| |
5. Remove container and image
| |
V. Best Practices with Image and Container
1. Image Management
- ✅ Use specific versions (e.g.,
node:18.12-alpineinstead ofnode:latest) - ✅ Reduce size using minimal base images (alpine, distroless)
- ✅ Leverage layer cache by ordering commands properly
- ✅ Use
.dockerignoreto exclude unnecessary files - ✅ Regularly remove unused images with
docker image prune
| |
2. Container Management
- ✅ Name containers clearly (
--name app-container) - ✅ Use
-d(detached mode) to run containers in background - ✅ Regularly check logs for debugging (
docker logs -f) - ✅ Use volumes if data persistence is needed
- ✅ Limit resources with
--cpus,--memory
| |
Common Troubleshooting
1. Cannot create container from image
Error:
| |
Causes:
- Image hasn’t been built or pulled
- Image is corrupted
- Port is already in use by another container
Solution:
| |
2. Container doesn’t persist data when stopped
Cause: Container is ephemeral, data inside will be lost when it stops or is removed.
Solution: Use Docker Volumes
| |
3. Container not accessible from outside
Error: Cannot access http://localhost:3000 when running container
Solution:
| |
Implementation Notes 🔧
When applying to your project, remember these important points:
- Don’t modify containers directly — Rebuild image with Dockerfile
- Use docker-compose.yaml to manage multiple containers and dependencies
- Use CI/CD to automatically build and push images to Docker Hub/Registry
- Monitor resources with
docker statsor Prometheus + Grafana - Backup data regularly from volumes
Best practices:
- Always name images and containers clearly
- Use specific tags for different environments (dev, staging, prod)
- Write
.dockerignoreto reduce image size and speed up builds - Use multi-stage build to create minimal images
Troubleshooting:
- When container crashes, check logs:
docker logs <container-name> - When pulling fails, check network:
ping registry-1.docker.io - When container can’t access files, mount volume with correct permissions
🎯 Conclusion
To summarize:
- Docker Image = Recipe repository (read-only template) — Contains all settings needed to run an application
- Docker Container = Prepared dish (running instance) — Container created from image with read-write layer
- Image is static, Container is dynamic
- Use
docker runto create container from image - Use
docker committo update container as a new image
Now you understand the differences between Image and Container. Next step: learn how to use Dockerfile to build images and Docker Compose to manage multiple containers. 🚀
If you found this article helpful, remember to ⭐ star the repo or 📱 share with friends! 😊